Enlarging Print and Cut Area in Leonardo Design Software
If you've found your A4 print and cut area to be a bit on the small side, here's a quick tip. This simple guide will show you how to enlarge your print and cut area, allowing you more space for your creative designs.
Step 1: Accessing Preferences
- Begin by opening your Siser Leonardo design software.
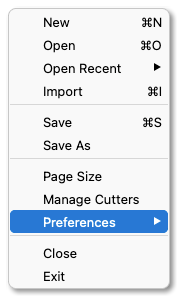
- Navigate to the "File" menu at the top of the screen.
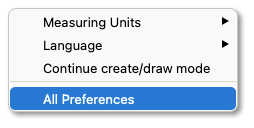
- Click on "Preferences," and then select "All Preferences" from the dropdown menu.
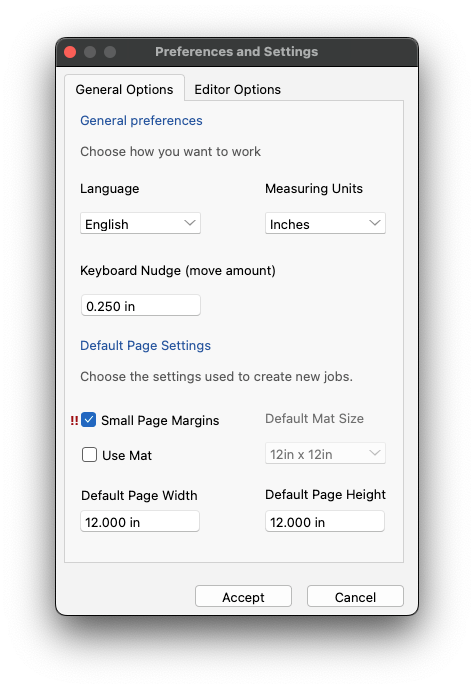
Step 2: Adjusting Margins
- In the preferences menu, look for the "Margins" section.
- and tick the checkbox of "Small Page Margins."
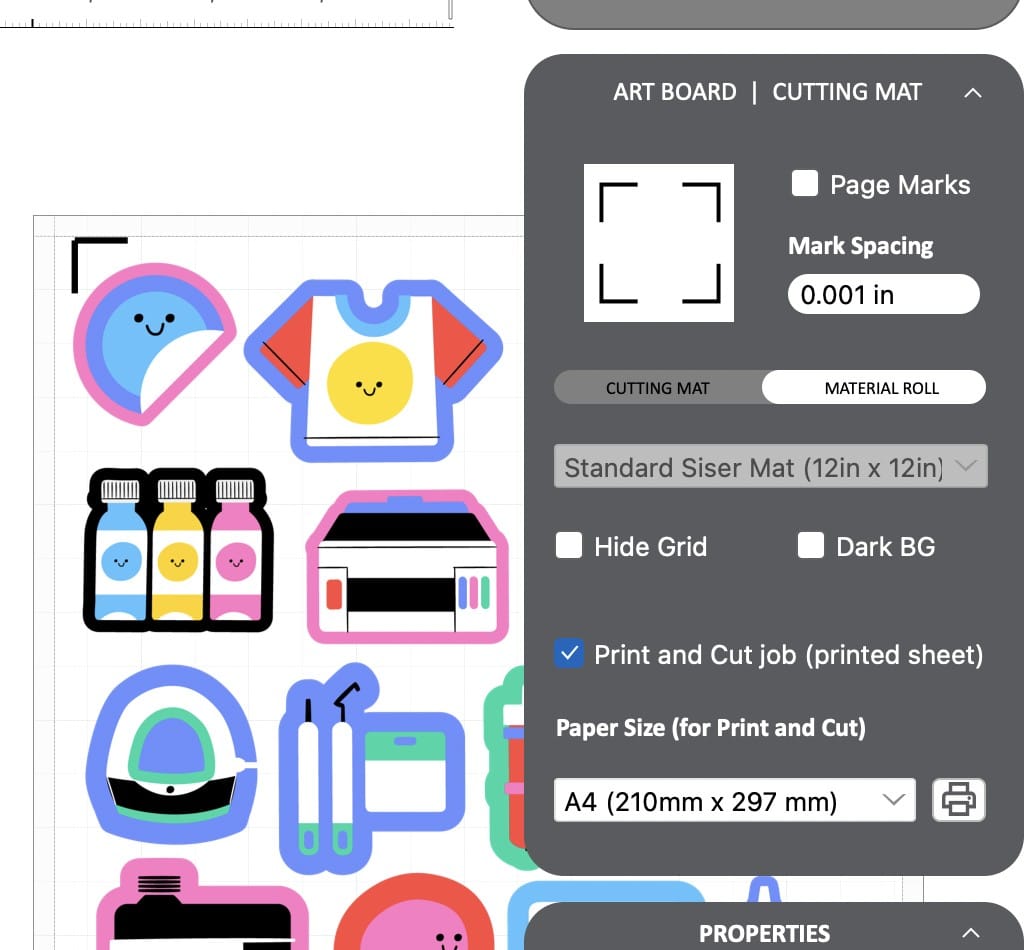

Step 3: Modifying Mark Spacing
- Then close the windows and in the Design sidebar adjust the marks spacing for example 0.001 inches.
You will notice the margins for the print and cut have adjusted. Just simply tweak the numbers base on your likings.
And that's it! You're now ready to take on bigger and more intricate projects with confidence. Happy crafting!